
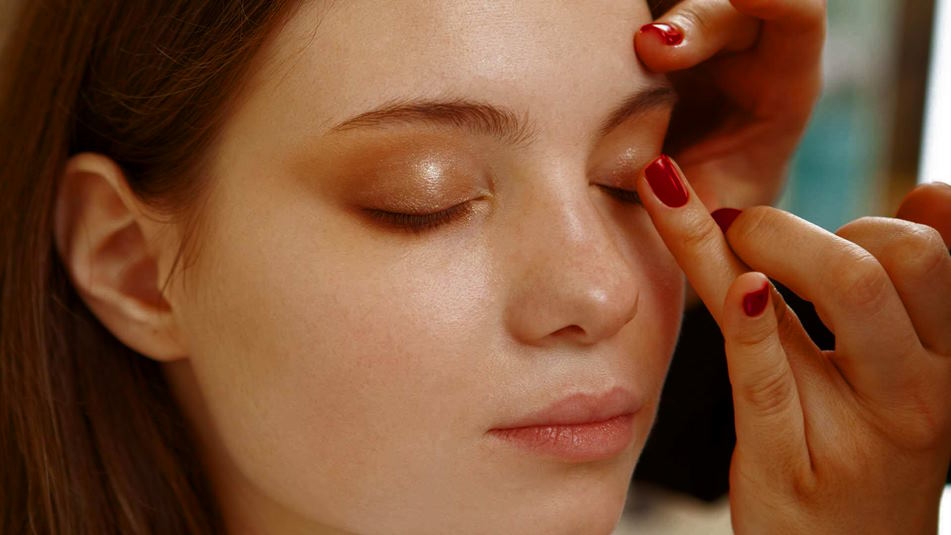
Different Makeup Techniques For Achieving A Smooth And Even Base
Makeup has become an essential part of our daily routine, and achieving a smooth and even base is the foundation of any makeup look. However, creating the perfect base is not always an easy task, and it can be challenging to achieve a flawless finish. Fortunately, there are various makeup techniques and products that can help you achieve a smooth and even base. We will explore different makeup techniques for achieving a smooth and even base, including prepping the skin, choosing the right foundation, application techniques, setting the base, and advanced techniques such as contouring and highlighting. By the end of this article, you will have the knowledge and skills to create a flawless base that will elevate your makeup game to the next level.
Prepping the skin
Prepping the skin is an essential step for achieving a smooth and even base. It involves taking care of your skin before applying any makeup products. Proper prepping ensures that your skin is hydrated, exfoliated, and primed to receive the foundation, resulting in a flawless finish. In this section, we will discuss the importance of skincare routine, exfoliation, hydration, and primer.
- Firstly, having a good skincare routine is vital for achieving a smooth base. Skincare routine involves cleansing, toning, and moisturizing the skin to keep it healthy, hydrated, and nourished. Proper skincare routine helps to remove dirt, oil, and impurities that can clog pores and cause acne. It also helps to balance the skin’s pH, which is essential for maintaining healthy skin.
- Secondly, exfoliation is an important step in prepping the skin for makeup application. Exfoliating the skin helps to remove dead skin cells, which can make the skin look dull and dry. It also helps to unclog pores, preventing breakouts and allowing makeup to go on smoothly. There are different types of exfoliants available, such as physical exfoliants (scrubs) and chemical exfoliants (enzymes or acids). It is essential to choose the right exfoliant for your skin type and to exfoliate regularly but not too often to avoid damaging the skin.
- Thirdly, hydration is key to achieving a smooth and even base. Hydrated skin looks plump, healthy, and youthful, and it allows makeup to sit seamlessly on the skin. To keep your skin hydrated, you can use moisturizers, serums, or facial mists. It is also essential to drink plenty of water, which helps to hydrate the skin from the inside out.
- Lastly, using a primer before applying foundation can make a significant difference in the final result. A primer is a makeup product that goes on after skincare and before foundation. Its main benefits include creating a smooth and even base, helping to control oil production, and increasing the longevity of the makeup. There are different types of primers available, such as color-correcting, pore-filling, and illuminating. It is essential to choose a primer that addresses your skin concerns and matches your skin type.

Application techniques
After prepping the skin, the next step to achieving a smooth and even base is applying the foundation. However, applying foundation can be tricky, especially if you are new to makeup. In this section, we will discuss the different application techniques, including using makeup brushes, sponges, and fingers, blending the foundation properly, spot concealing, and color correction.
- The first application technique is using makeup brushes, sponges, or fingers. Makeup brushes come in different shapes and sizes, and they can be used to apply foundation, concealer, and powder. Sponges are another popular tool used for applying foundation, and they are perfect for achieving a natural, airbrushed finish. Fingers can also be used to apply foundation, but they may not give you as much precision as brushes or sponges. It is important to choose the right tool for your needs and preferences.
- The second technique is blending the foundation properly. Blending is crucial for achieving a seamless and natural-looking base. To blend the foundation properly, start by applying small amounts of foundation to the center of your face and blend it outward. Use a circular motion to blend the foundation into the skin, and make sure to blend it into the hairline and jawline. It is important to avoid harsh lines and to blend the foundation evenly.
- The third technique is spot concealing. Spot concealing is a technique used to cover specific areas of the face, such as blemishes, dark circles, or redness. To spot conceal, use a small brush or sponge to apply concealer directly to the area that needs coverage. Blend the concealer into the skin, making sure to blend it into the surrounding skin for a seamless finish.
- Lastly, color correction is a technique used to correct skin discoloration, such as redness or dark circles. Color correctors come in different shades and are designed to neutralize specific colors. For example, green color correctors can be used to neutralize redness, while peach or orange color correctors can be used to neutralize dark circles. To use color correctors, apply them to the specific areas that need correction and blend them into the skin before applying foundation.
Setting the base
After prepping the skin and applying the foundation, the next step is setting the base. Setting the base is an essential step for achieving a long-lasting and flawless makeup look. In this section, we will discuss the importance of setting the base, the different types of setting powders and their uses, and the application techniques.
- The first step is to understand the importance of setting the base. Setting the base helps to lock in the foundation and concealer, preventing them from moving or creasing throughout the day. It also helps to control oil production, reduce shine, and blur the appearance of pores. Setting the base is especially important for oily skin types or for those who live in humid climates.
- The second step is to choose the right type of setting powder for your needs. There are different types of setting powders available, such as loose powder, pressed powder, and translucent powder. Loose powder is perfect for setting the entire face, while pressed powder is ideal for touch-ups throughout the day. Translucent powder is a popular choice that works for all skin tones and can be used to set the entire face or for baking (a technique used for setting concealer).
- The third step is to understand the different uses of setting powders. A mattifying powder can be used to control oil production and reduce shine, while a luminous powder can add a subtle glow to the skin. A color-correcting powder can be used to neutralize specific skin discoloration, such as redness or sallowness. It is important to choose the right setting powder for your skin type and needs.
- The fourth step is to use the right application technique. To set the base, use a fluffy brush to apply the powder evenly to the skin. Make sure to tap off any excess powder before applying it to the skin to avoid a cakey finish. If you are using a loose powder, you can also use a powder puff to press the powder into the skin for a more long-lasting finish.
Advanced techniques
In addition to prepping the skin, applying foundation, and setting the base, there are advanced makeup techniques that can take your makeup game to the next level. In this section, we will discuss three advanced makeup techniques: contouring and highlighting, using color correctors to correct discoloration, and using different formulas for different areas of the face.
- The first technique is contouring and highlighting. Contouring is a technique used to sculpt and define the face by using a darker shade to create the illusion of shadows. Highlighting, on the other hand, is a technique used to enhance the high points of the face, such as the cheekbones, brow bone, and cupid’s bow, by using a lighter shade to create the illusion of light. To contour and highlight, use a contour brush to apply a darker shade under the cheekbones, along the jawline, and on the sides of the nose. Use a highlighter brush to apply a lighter shade to the high points of the face. Blend the shades together for a seamless finish.
- The second technique is using color correctors to correct discoloration. Color correctors come in different shades, and they are designed to neutralize specific colors. For example, green color correctors can be used to neutralize redness, while peach or orange color correctors can be used to neutralize dark circles. To use color correctors, apply them to the specific areas that need correction before applying foundation.
- The third technique is using different formulas for different areas of the face. Different areas of the face have different needs, and using the same formula for the entire face may not be effective. For example, using a matte foundation on dry skin can make the skin look dull and flaky, while using a dewy foundation on oily skin can make the skin look shiny and greasy. To address this issue, consider using different formulas for different areas of the face. For example, use a matte foundation on the T-zone and a dewy foundation on the cheeks.